


As we all know, Object Parenting is definitely important in the aspect of animation, because before you create an animation, everything must be arranged in their appropriate places. Here’s a simple overview of what I’m trying to impose.
PARENT – is considered as the main object of the model
CHILD – is considered as a sub-object of the model
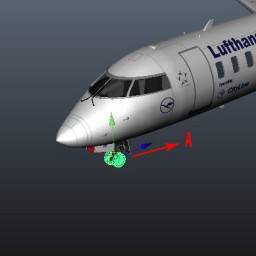
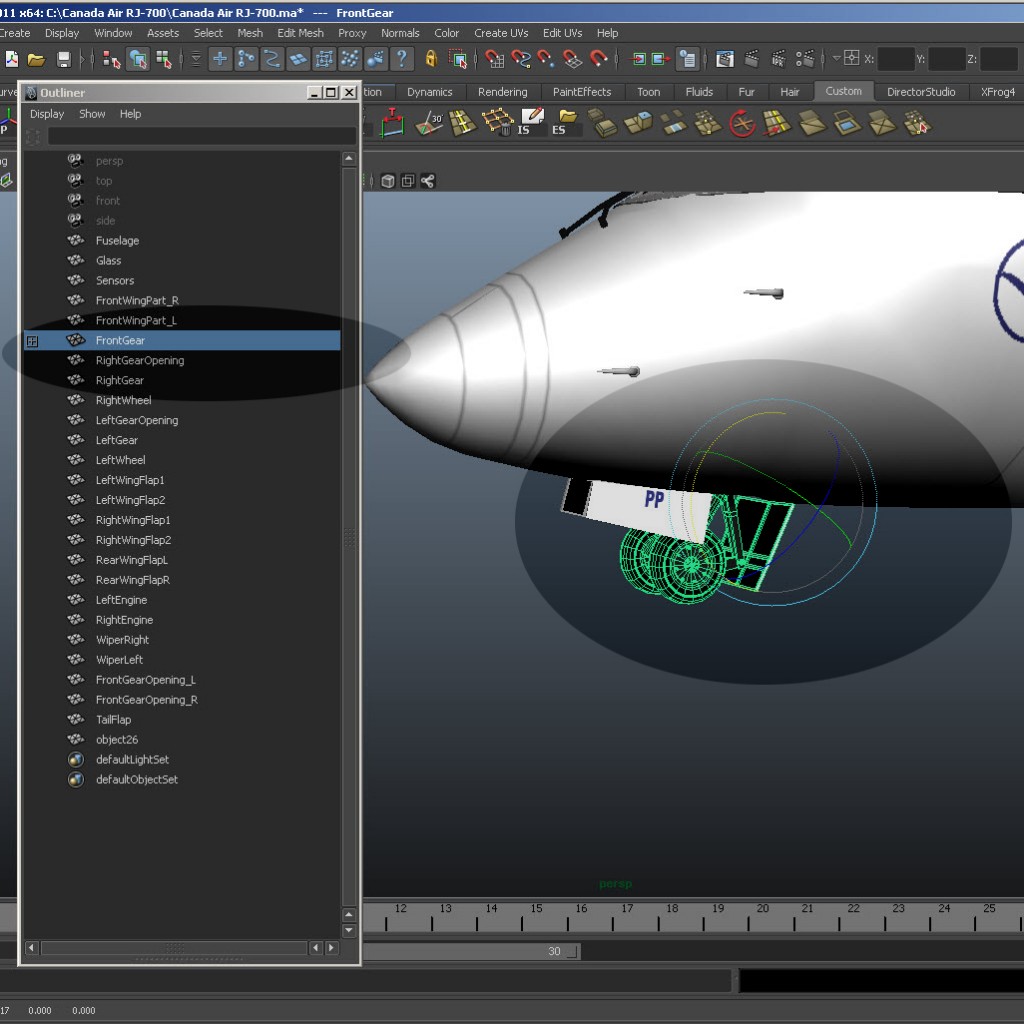
The image below shows a 3d model of our CRJ-700 Airplane. This model doesn’t have parent/child settings. So first thing to do is define the objects that we need to have a parent/child connection, in this model a good example are the front gear and front wheel.
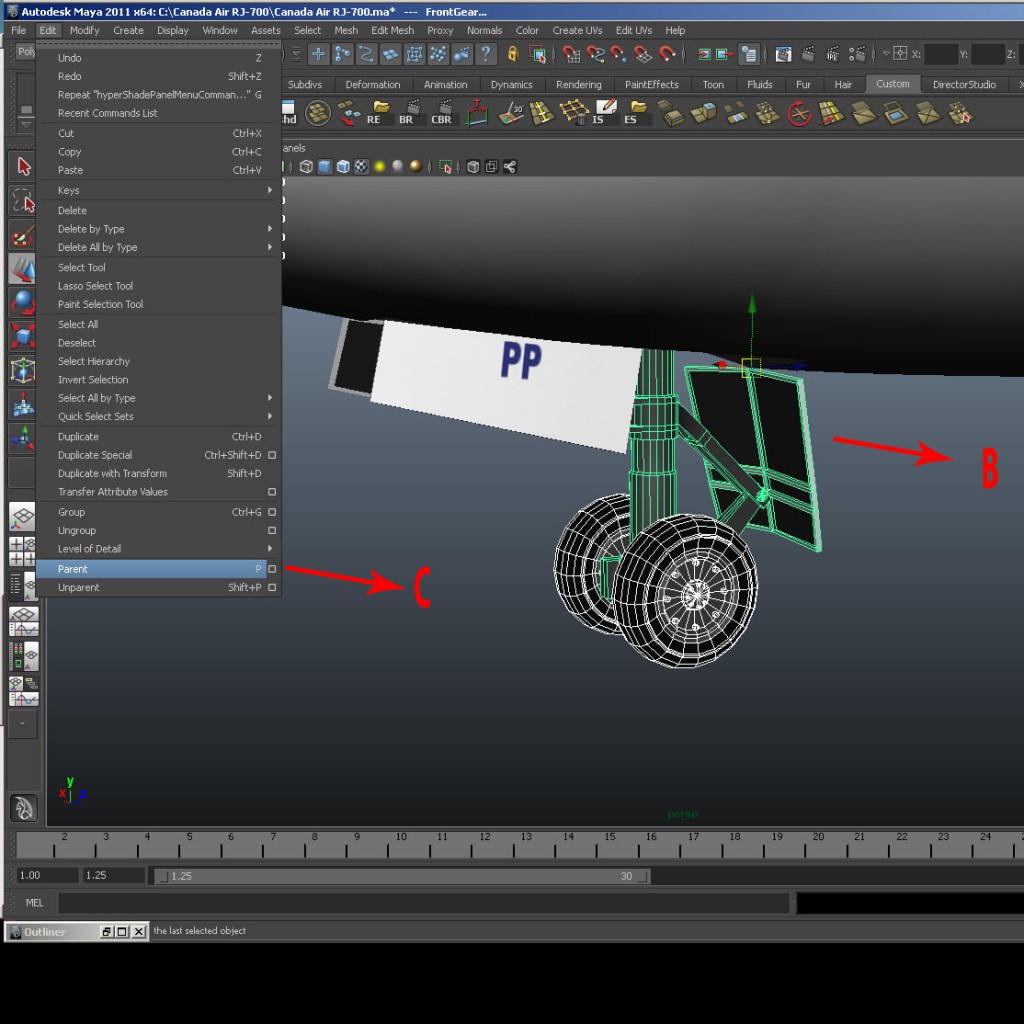
In order for us to create parenting, we need to choose the object that will be described as the child/children that will be under the parent. So in this part, the front wheel is considered as the child, then the parent would be the front gear.
To do this:
A. Select your model/s you want to be a child/children (Front Wheel)
B. Select your Parent Object (Front Gear)
C. Go to Edit>Parent.
Or you could simply go to your Outliner (Window>Outliner) then Middle Mouse Click + Drag the Front Wheel towards the Front Gear.
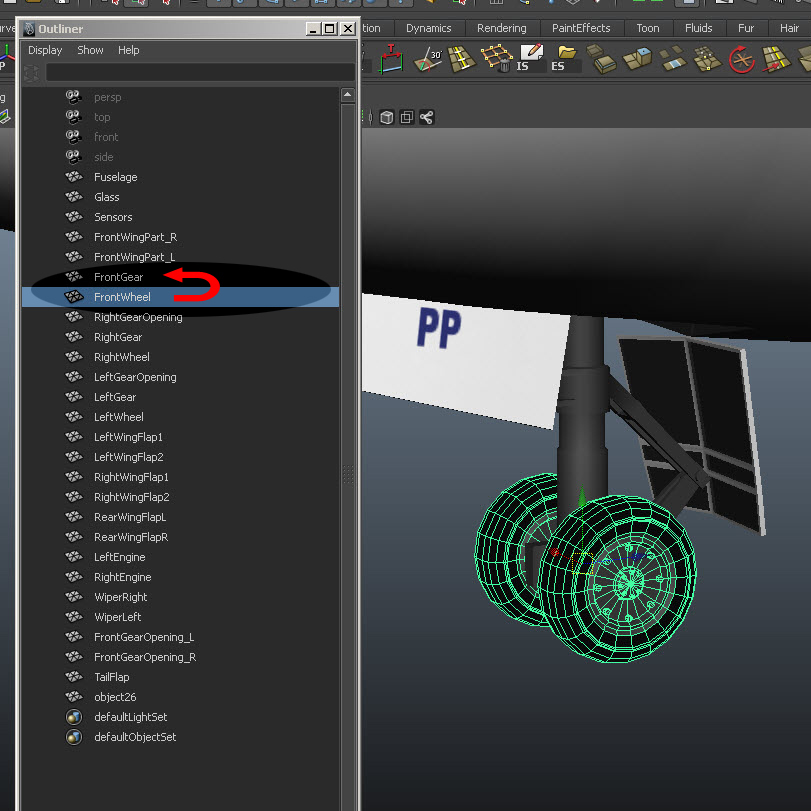
Now, we have the Front Wheel being the child of the Front Gear. Remember that No object can have more than one parent, but its parent can have a parent. Also, a parent can have as many children as you want.

In this part if we choose the Front Wheel and try to rotate it, it will still rotate freely, while if you try to rotate the Front Gear, the Front Wheel will follow in any given direction you choose because of the parent/child effect.
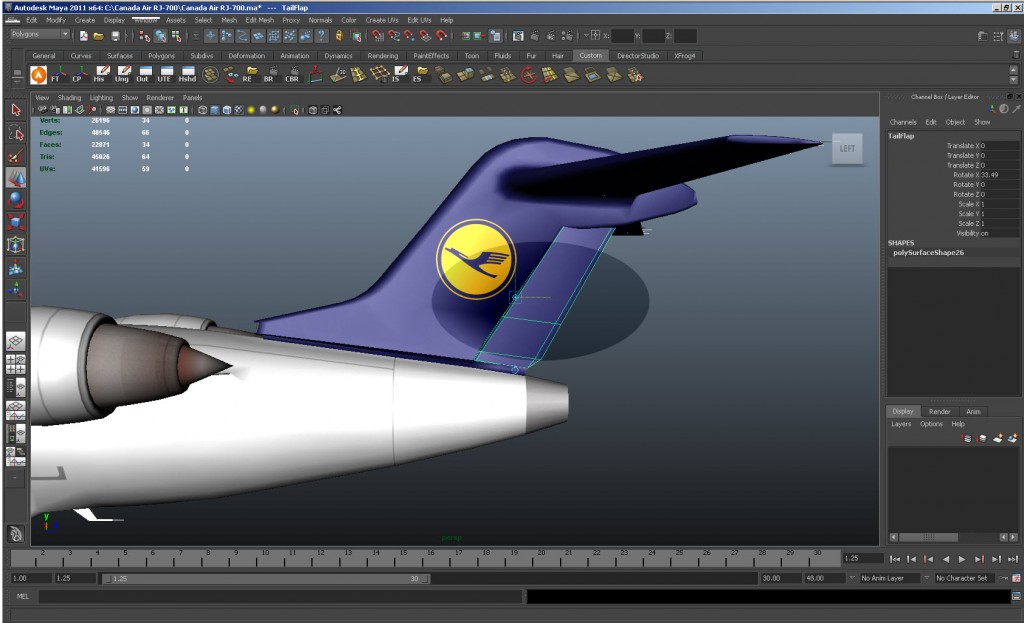
Now, I’ll give one of the little techniques that I’ve learned from Maya Pivoting. This is simple but helpful, the image below shows a great example, right pivoting of the tail flap. To do this:
Choose the Tail Flap of the Airplane:

Then Press Insert key on your keyboard to activate the Pivot Locator and bring the Pivot on the edge of the Tail just like shown on the picture below.
Then the Pivot Locator must be positioned according to its world axis (the way it should actually move). In order to do this, Press F8 on your keyboard ang left mouse click the ? icon. See image below.
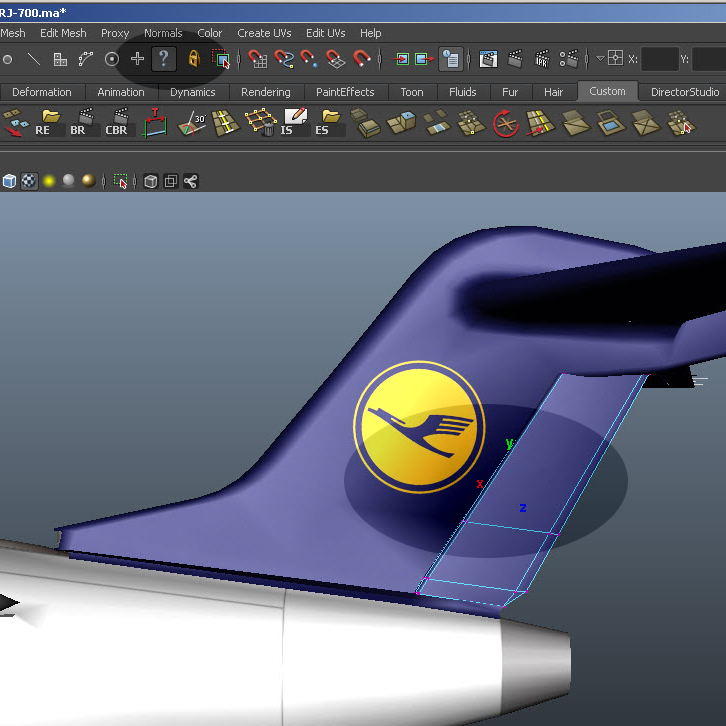
After that press E (rotate command) then position the locator according on how the flap should move. See image below for better understanding.

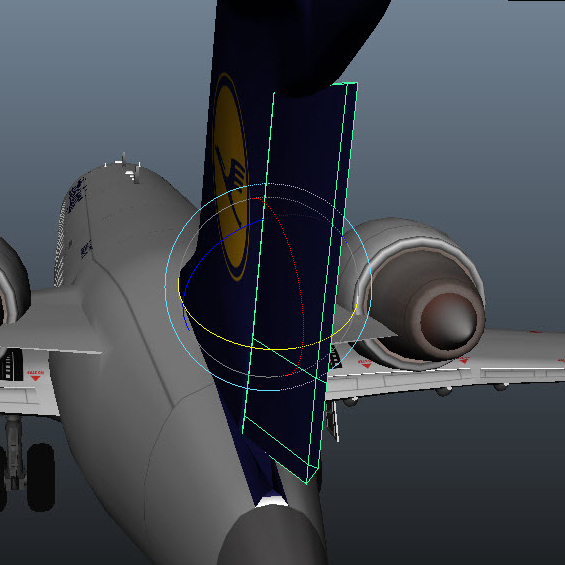
Then after that, press F8 again to disable it, and then press E (rotate command) to test the movement of the tail flaps. The movement should be like this.
So, that’s it. Simple isn’t it. Watch out for our new blogs. Have a nice day! Godbless!
You can leave comments or suggestions here…
 Older Posts