About a month ago, I set out on a project to start building a character in my off hours – A cartoon character for a short I want to produce some day. I just wanted to talk broadly about the methods that I used in Maya to get the character, ‘Herman’, to the point of UV unwrapping and texturing, which will be Part II. Part III will be rigging.
Herman is a paranoid hermit of sorts. I drew the character reference but did not follow it too closely so it is not included here.
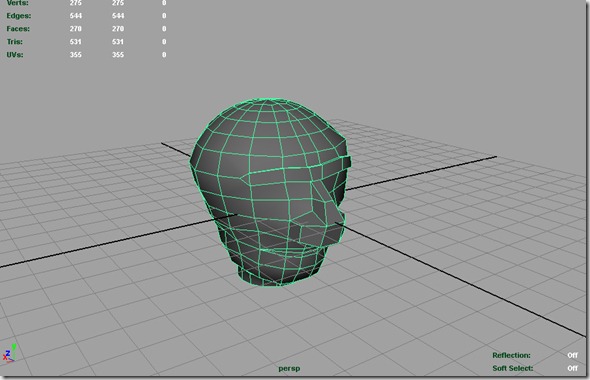
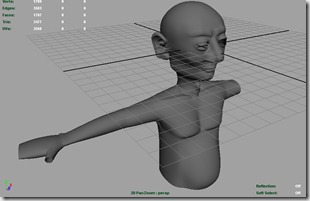
I Started with a Sphere. I wanted to model Herman with as few polygons as possible, but allow smoothing to take care of closeups. So with a Sphere, I simply deformed the sphere until it roughly looked like a pear with jaws 🙂 on a stick. I extruded the nose, cut the jaw line. Repeatedly I switch in Maya between mesh and smooth mode (press ‘1’ or ‘3’ on the keyboard to do this), and I constantly find myself mirroring geometry at least in the early stages.
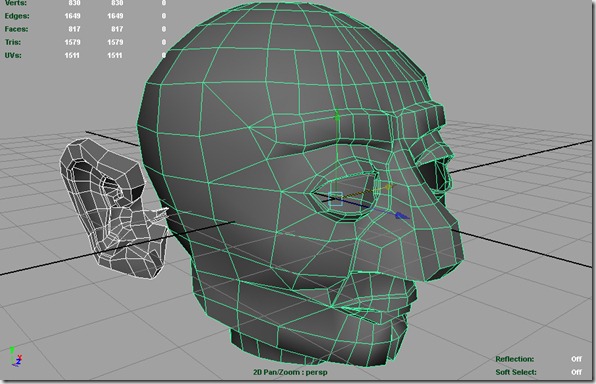
I like to build things separately. So think of the head as a sphere, the ear started as a cylinder, the neck as a cylinder, the torso, a smoothed cube, and work each piece so that it contains the detail that you like. Note here I have put some bevels (notice around the lips, along the contour of the nose), which will help guide some creases into the smoothed version of the mesh.
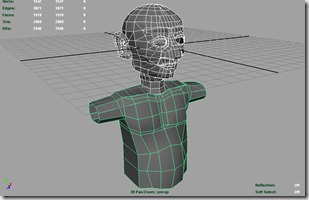
On the left, notice that I have joined the ear to the head (by cutting and welding vertices). Also notice I have the head, neck (a reworked cylinder), and a rough torso. On the right you can see the effect of combining those meshes, welding the vertices, and applying the smooth to the mesh (quick switch to mode 3). Note – Don’t actually smooth your mesh unless you want to do more work at this point. Work as low as possible and leave the smoothing as late as possible, just my experience.
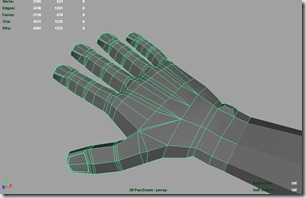
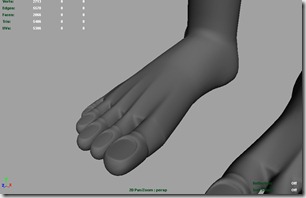
Hands and Feet are probably the hardest part of the body to model for me at least. I start with a cylinder, extrude, cut, bevel, weld for a couple of hours to get a hand (shown left) that will smooth to a nice cartoon type detail. The feet, shown here in smoothed mode, are a bit more hasty as I don’t plan on showing the feet. But the idea of modeling a separate piece and welding it to the body are the same.
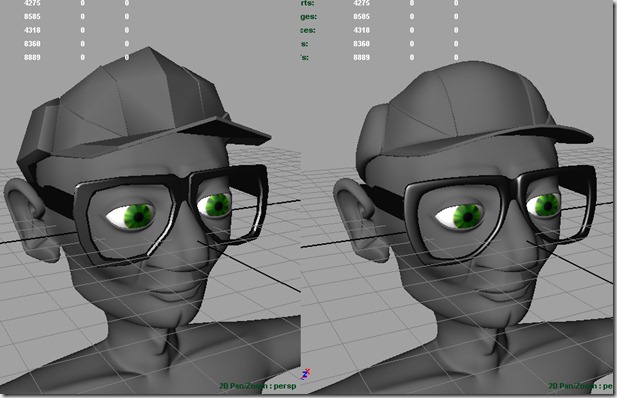
Timeout – I went back to model his goofy hat and glasses. Again, modeling very low poly and applying bevels where I need them to get some detail or creasing. Also on the glasses, these are coke bottle lenses you can’t see here but I wanted to make sure his eyes looked friggin huge when ray traced. Again left = Low poly, right = smoothing turned on temporarily to check the work.
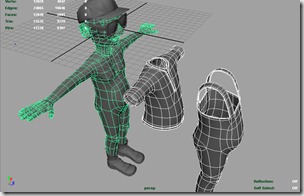
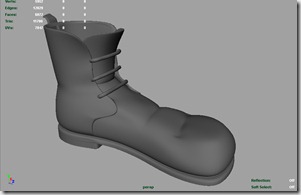
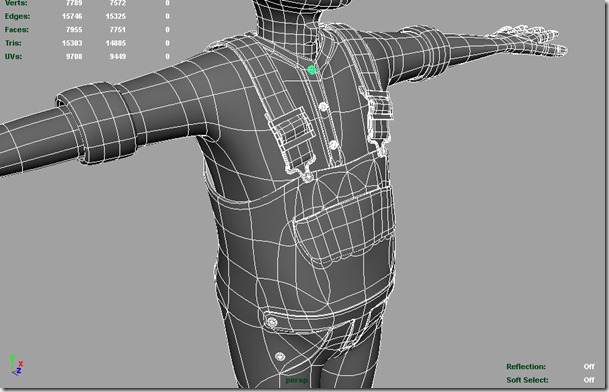
Clothing – One of the big advantages to doing everything in very low polygons at this point, is making things like Clothing. On the left, notice I have just copied the low poly mesh body, and then cut, reworked parts of the body for the clothing. You have to stitch up some of the fine detail, as well as model some thick seams etc. but having the low poly mesh to work with makes this part easy. Things like boots or hats, are best modeled in low polygons from scratch to fit. Gloves might be based on the hand. Below, note the extra details added to the clothing. We’ll do the remaining details in displacement mapping on the clothing.
You will notice the poly count is not especially low – Things like buttons, bevel edges account for most of the polygons so far. But that mesh is going to be a helluva lot easier to work with in the coming stages than a dense one.
Well that about does it for now – We’ll unwrap and Texture Herman in part 2. I hope this has provided some idea or tip that is useful. Any opinions are appreciated!
