


Beginning in September of 2013, we began work on a project for the NMFS, which is the National Marine Fisheries Service, part of NOAA.
National Marine Fisheries are responsible for the management, conservation, and protection of living marine resources within the United States ‘Exclusive Economic Zone’. A fancy word for waters within a few hundred miles of our shores.
NMFS needed some communication related videos produced that highlighted some of their key regions – US West Coast, Northeast Coast, and the Gulf of Mexico. These videos would be a mix of 3D animation, animated technical illustrations, and video and images.
Additionally, they needed a real time application that would help bring their data ‘to the masses’. NMFS track detailed population historical data for hundreds and hundreds of species of marine life, and they run sophisticated simulations of various conditions – ranging from over-fishing, to climate change, and many more.
First, the videos.
Each video required that a script be developed and perfected, prior to engaging in any artistic work. Each was to be about 4-5 minutes in total length, with about 2 minutes of CG animation and 1 minute of animated technical illustration.
Once the script was reviewed and perfected by a panel of marine fisheries scientists and communications people, we were ready to create a storyboard.
 |
 |
 |
Each of the three videos required about 15 illustrations, with accompanying shot details – To relay the color, composition, and material to be shown on screen, as well as explain what the narrator was to say. When this was done, we compiled these storyboard cells, in to an ‘Animatic’, which is a first stab at voiceover, music, and timing from one shot to the next. As you will see here, we also have stock imagery thumbnails (low resolution, watermarked images), and some early CG tests incorporated in to this animatic. This is the third version of the animatic – The first one was storyboard cells only with voice and music.
Once the animatics were approved, we then downloaded over a thousand photos and video references, of individual species as well as individual habitats, and organized them in to individual art assets – sets, props, and species. So that the artists would have enough to make them look life-like. Six artists worked on the sets and species full time – for a few weeks. For the first two videos, 44 species, and 6 sets were developed for both the simulation, and for the first two videos.
 |
 |
 |
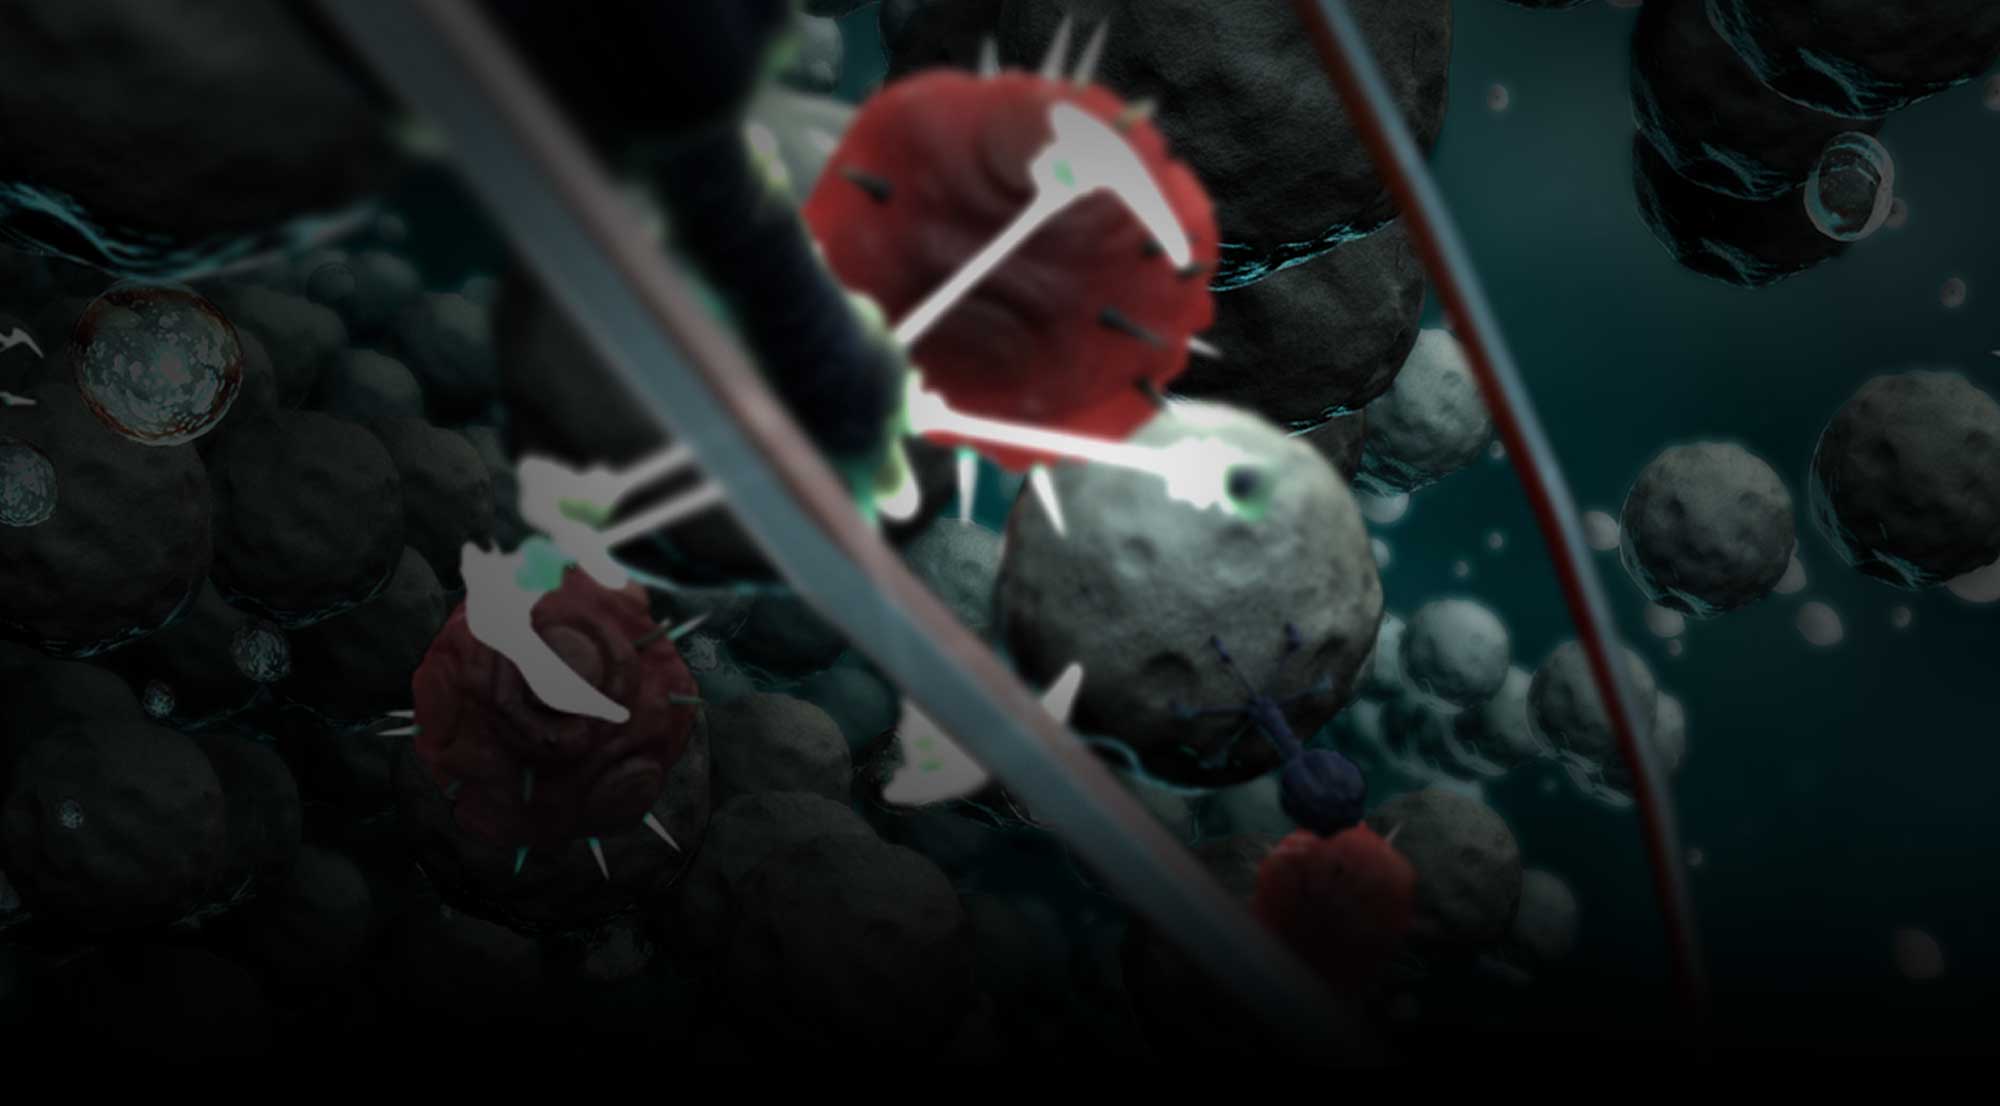
At this early stage, we were developing some of the assets for both the real-time game engine, and for the video, so special considerations had to be met. Each video had between 4 and 6 ‘Hero’ species – critters that would appear closeup on camera and have sophisticated movement. Artists were assigned to each, and also each artist had to develop roughly a dozen other critters with less sophisticated screen time. (No closeup necessary, Mr. Demille)
All of the critters required ‘rigging’ which is the process of making them flexible and ‘performable’ on screen rather than as solid, rigid objects. A general rig was developed for the fish and was used as a starting point for each critter. Animation loops of common movements were then developed for each fish which could be used in either the simulation, called up by code, or in the videos, referenced by the animator of a given scene.
 |
 |
 |
 |
 |
 |
Once all of these assets are ‘animation ready’ – Sets need to be set up for lighting, effects, foliage, etc. etc. just like a real set would, and all of the critter ‘characters’ ready for motion, then commencement on animation begins. This is a time consuming process, and all of the crude animation efforts are reviewed by the customer as well to avoid any big scary discovery after the expensive rendering and effects are applied. Some shots also required fluid animations which had to be done after the principal animation was complete.
There were approximately 6 fully lit, realistic CG shots per video (totalling 18), and then about that many technical, illustrative shots (also known as motion graphics) that were needed to back up the commentary. Those were largely developed by the editor, myself or Andy, with graphic support from the animation team.
After about a month, the first animations were done, but needed to be rendered, as final adjustments were made to the videos. The first two videos were completed a couple months after the animatic was approved.
My next post will be on the development of the simulation, or real-time app. Thank You for reading!
 Older Posts