You can spend hundreds or thousands of dollars on special viewing hardware, sets, and special compositing and editing software, but I wanted to talk about how to dabble in it ‘on the cheap’, where the additional investment might just be $6.00 and some patience. (using my trusty, bought and paid for animation and compositing, editing tools).
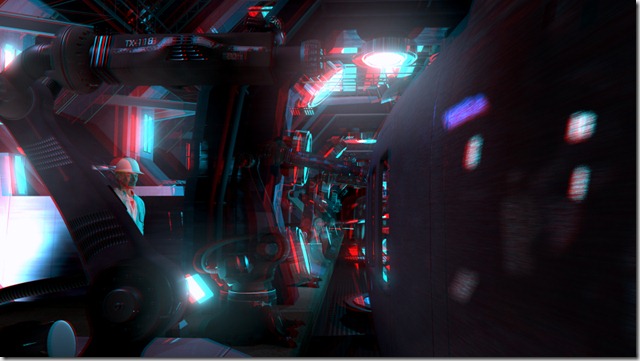
I’d recommend, for this route, if you do not already have a 3DVision or other stereo setup, just to get some good Anaglyphic Red/Cyan glasses. For plastic frames, these go for about $3.50 before shipping and handling, and why not, order 3-4 pairs. I realize this basically goes back to the 1950s but it will tell you everything you need to know (albeit imperfectly) about the depth and stereo issues in your project without taking out a loan.
Okay, here is my setup.
- Autodesk Maya 2012
- Adobe After Effects CS5
- Adobe Premiere CS5
We’ll focus on Anaglyphic output for our own purposes but I’ll explain the fully capable stacked or interlaced 3D options, all of which we can deal with when we mux or composite the final file.
For my own selfish purposes, we’ll do everything in one eye first – The entire pipeline, and then we will look at the steps to stereo compositing and editing as we complete work for the other eye.
Why do this? Because we don’t want to be rendering everything in stereo, compositing and the like – and have mundane fixes to make in source, animation, or compositing. We want to get a full 2D version of our workflow working perfectly so all that we need to do is focus on the stereo aspect in the end – saving a huge portion of rendering time.
Overview – Stereo in Maya
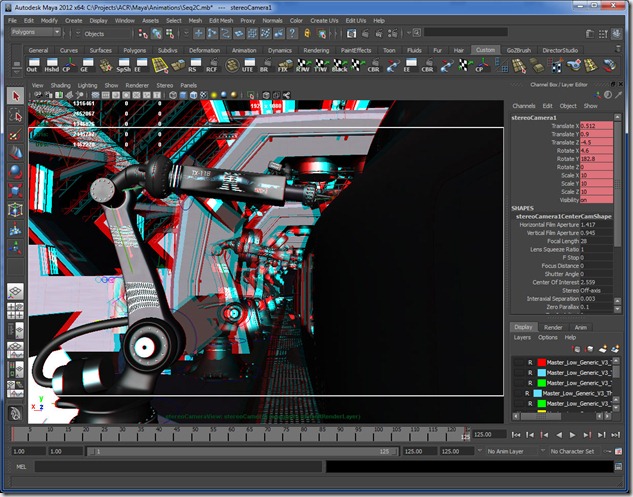
Maya has enjoyed stereo support for several versions now. You can include and use stereo cameras almost exactly like traditional cameras, in fact it is essentially just a camera rig – the Stereo camera object, except that it allows you real-time 3D viewing via Maya’s viewport as well as 3D viewing within Maya’s render window.
My approach in Maya – will be to use only Stereo cameras when producing my 2D production, using the left eye view only (and only rendering that camera, not the right one as well). In some cases this will mean something will be off-center. In some of those cases where absolute centering is important you may end up rendering a center view as well, but we want to minimize that.
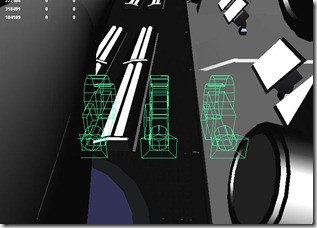
The Maya stereo rig actually consists of three cameras – a left eye, right eye, and center viewport eye.
See to the left here, the view of such a camera in Maya’s viewport. I’ve exaggerated the scale here, in reality or for absolute accuracy, the distance between the left and right cameras – called Interaxial Separation (or Occular separation) should be the same distance as a pair of human eyes in your scene. Having that value too high will make things seem too miniature, and allow you to see depth further than otherwise. Having it too low, will have a flattening effect. Also, if the distance is too high you may have clipping or intersection problems with your rig, as both camera gates need to be taken in to consideration.
You will use the center camera when moving the camera around and viewing film gates. And when rendering you will need to select just the left camera as render output.
The other value you need to be interested in with the stereo camera, is the depth location of the screen, or the zero parallax value. You want to have a minimum case scenario of items protruding out of the viewport in my opinion. So take some time to get these two values worked out right. That will consist of anaglyphic preview (see below), as well as doing a test render (following). Once you are confident in the stereo setup, go ahead and start rendering that left eye for production.
What if you didn’t do stereo at the beginning??? Consider these three workarounds.
1) Create a stereo camera object, and parent constrain it to a camera in your scene. Ensure that the gate of the stereo left eye matches the gate of the original camera. With an expression, have the stereo camera’s focal length match that of the original camera. After adjusting occular separation and zero parralax, ensure the left gate matches that of the original camera. Advantage here is you can at least stereo preview and render in view. Now just render that right eye.
2) Create a camera and place it 3cm to the right of the original camera. Parent Contrain it as above. Note – no preview options here or render output options, you will just have to render the right eye and cross your fingers.
3) If the camera is a simple one, go ahead and create a new stereo camera in your own scene, calibrate, and match animation keys to the old.
Well that’s about it for now – Consider this ‘future proofing’ or ‘stereo proofing’ your run of the mill project. On our next installment, we will be revisiting the 2D compositing assuming the traditional 2D output is finished. We will quickly convert our 2D After Effects comp to Stereo, and test it in Anaglyph, then export separate Right Eye output for later.
Up Next – Stereo 3D – Converting After Effects Projects to Stereo


