


Brief explanation of Displacement map explained
It is a technique to cause an effect to a surface to displace, it is much different from normal and bump map that only produce bulging or adding height. Displacement map results in more Depth and detail that permits to produce a high amount of geometry like surface.
Bump sample
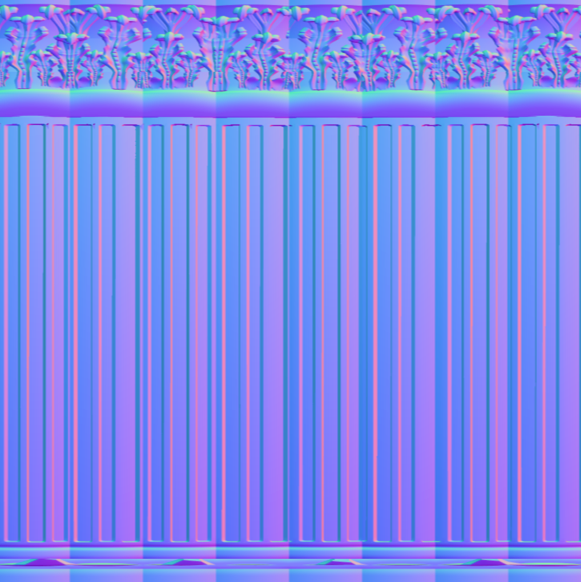
Normal sample
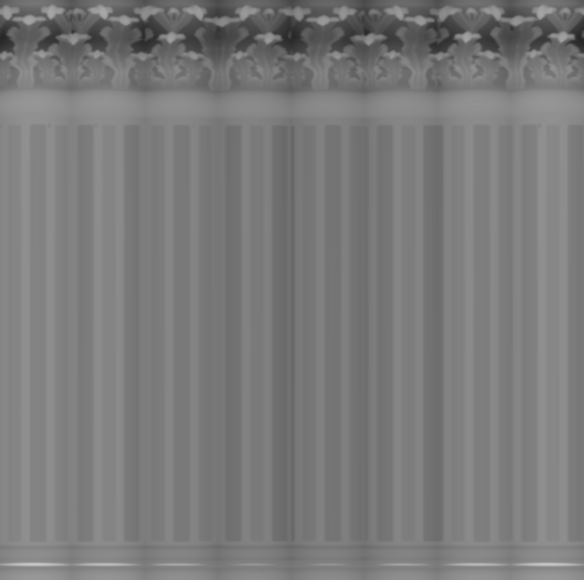
Displacement map
In the next step I will show you how to produce Displacement map within MODO.
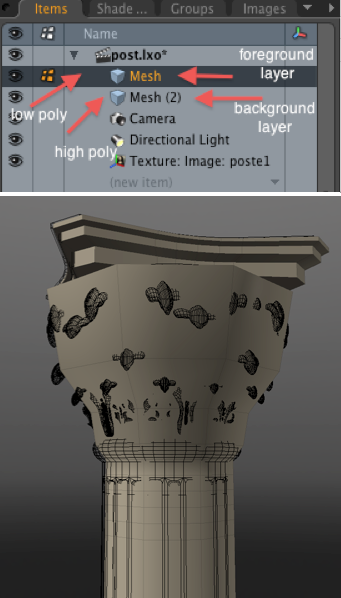
From part 2 of this tutorial we created identical Columns, now we would want to bake the High poly version mesh to assigned texture map to our Low poly version, first is to have our low poly column UV’d and the high poly version is not necessary to have its UV. Now select the low poly column in its layer and select the High poly column as background layer note that you should align them on the same axis in order to project correctly when baking
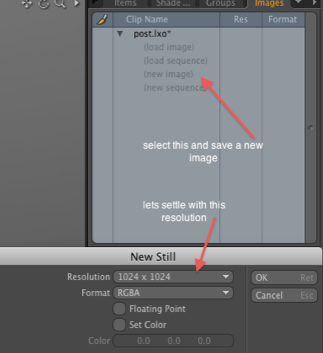
Now that everything’s aligned lets go and create a new blank image file where the baking will take place.
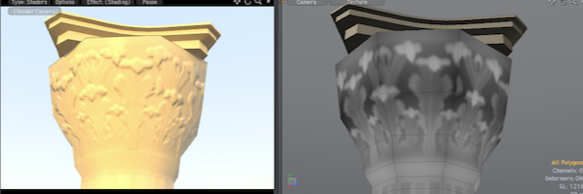
Were almost there, and now double click and select you low poly mesh and hit “M” for material and assign “Displacement_Map” don’t worry about the diffuse color at this time and hit “OK”
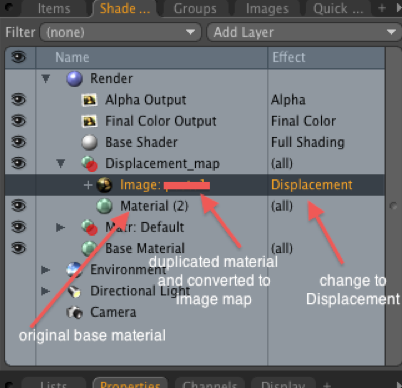
Next is go to Shader tab and select the “material” under the name “Matr.Displacement_Map” you created earlier, right click it and select duplicate, now that you have a duplicated material you can now right click it + change type + image map. On the rightmost labeled (all) right click+displacement.

Still selected on the image map we will load the UV, blank texture file you saved earlier and assign to it. 1.Go to properties 2. Texture locator 3. Projection type “UV map” 4. UV Map ( I named mine “normal”) from the UV map created earlier from the low poly column.
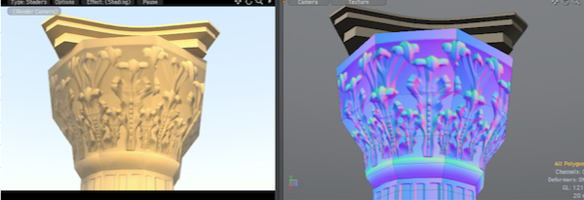
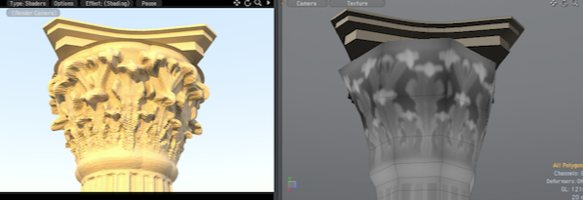
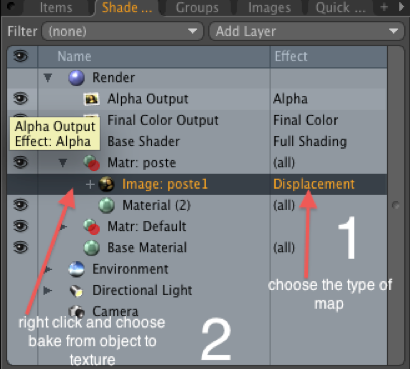
Its time to create the normal and displacement map, right click on the image map and select “bake from object to texture” also you might want to indicate what kind of map youre about to bake is it Normal map or Displacement map? All you have to do is right click the right most of the image map and select accordingly. If all things set it will automatically render your preferred map and will load on the scene instantly. See direction below.
Rendered map for displacement and normal
That’s it! I hope this tutorial helped your limited resource assets meet the quality and efficiency of the project.
 Prev Post
 Next Post
0 Tags: adding volunes to models · Displacement map · Level of Detail · LOD · map baking · Modo · Texture baking · texturing techniques
Comments