


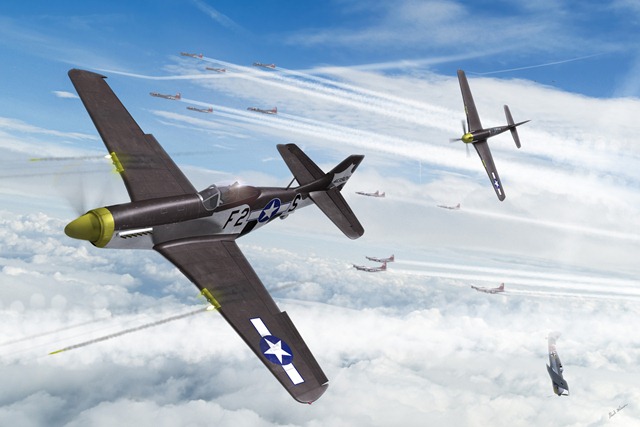
Having built a lot of WWI and WWII aircraft over the years I decided it was time to finally do a little digital art image with a few of the models. During a weekend in July 2011 I tossed together the image that can be seen below. In its original size it is 4922 pixels across. The aircraft were built and skinned in Maya and were integrated into a scene in Photoshop CS5.
The image depicts a few P-51D Mustang fighters in combat with FW-190 fighters. These particular aircraft are escorting early B-17G bombers which can be seen in the background. The P-51 fighter in the foreground belonged to the 375th Fighter Squadron, 361st Fighter Group, based in Little Walden, England. It would also spend time in France and Belgium.
The finished image can be seen below:
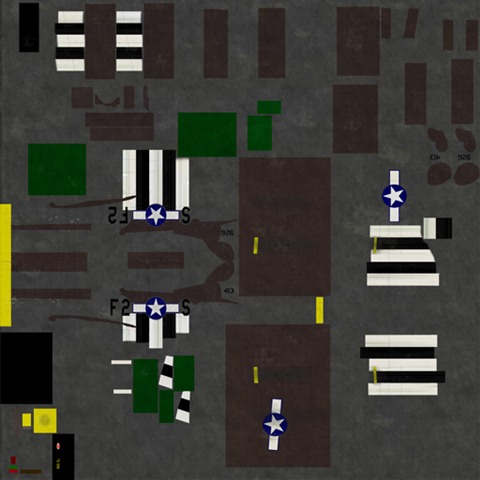
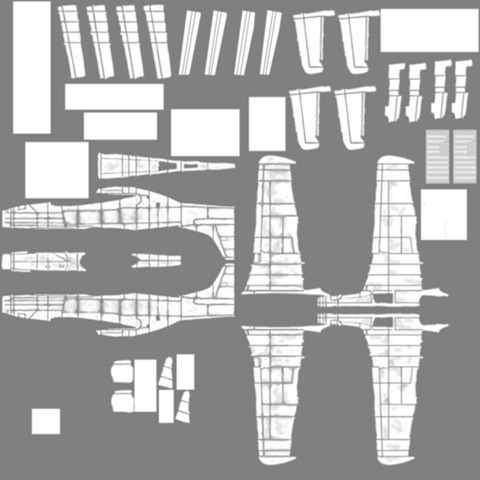
The P-51 Mustang was the first model I built and the final size of the model when finished was 68K faces. Five bitmap textures would be applied to the main fuselage and wing material. The first image shows the regular color map.
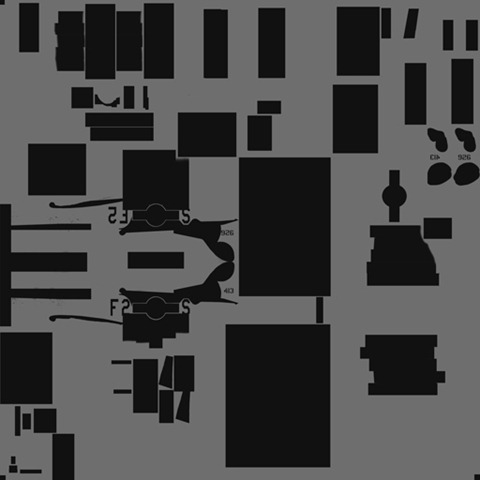
Reflectivity is relatively high in the bare aluminum part of the skin and the reflection map shown below shows this. The painted areas of the aircraft had less reflectivity.
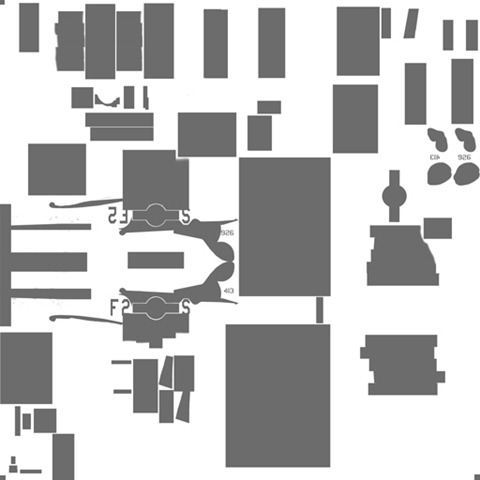
I decided to keep my specular color map simple.
A specular roll off map would allow an aluminum metal surface that would look metallic. I didn’t want the painted areas to have as high a roll off. The image was attached to a multiply/divide node which multiplied the results of the bitmap by 1.5 times.
My bump map was hand built and the results can be seen below.
In Maya I turned on some “Mi reflection blur” to blur reflection results. A rendering of the finished aircraft can be seen below.

The B-17 aircraft only used a few bitmaps and I put time into minimizing their poly sizes since they would not be seen up close. Also, all the bitmaps associated with them were reduced from 4096 pixel size to 512.
The FW-190 seen in the bottom right corner of the final image was built by another member of our team.
With the models ready to go it was time to create the scene in Maya using the models mentioned above. I had already found an aerial photo on Shutterstock that I would use for my background and my scene composition in Maya was created with this image in mind. A ground plane was created as well as a semi-sphere and textured. These objects would provide reflections for my models. Two simple light sources were created (a directional light and ambient light). I decided that the contrails and smoke in the image would be built in Photoshop. To mark where the contrails would be I created a series of cylinders extending from the aircraft to act as guides for contrail creation.

I created three display layers so that the models could be rendered separately. One layer had the P-51s and FW-190. The second had the B-17s. The third had the guide line cylinders.
All the renders were done and I then went into Photoshop to composite the elements into the final image. The discussion of the compositing will be mentioned in the next blog.
 Prev Post
 Next Post
0 Tags: P-51 P-51D B-17 B-17G FW-190 battle scene composite PerspectX Maya Photoshop aerial color reflectivity specular bump map
Comments